An escape to the spa without breaking the bank! This blog post offers amazing DIYs for you skin, hair, and body made with everyday household items.
Table of Contents
- DIY Face Masks
- DIY Body Scrubs
- DIY Hair Masks
- Additional Tips for you
Who doesn’t like to treat themselves to a relaxing spa day? The soothing music, those scented candles, and relaxing treatments that leave you feeling refreshed and radiant. But let’s be honest, these treatments may empty our pockets!
But worry not because you have come to the right place. Here we will be talking about how you can recreate the same spa experience right at home and that too without breaking the bank.
This article will serve as your guide in creating a DIY spa day that is both relaxing and also kind to your wallet. It is going to be all about using things that you might already be having in your kitchen or pantry.
TRANSFORMING YOUR HOME INTO A SPA
Now the first step is the setting stage. To make it simpler, I have broken it down into even simpler steps, so let’s begin:
-
Light up Candles:
the warmth of the flickering candles instantly creates a very calming atmosphere. You can go for scented candles that have soothing aromas like lavender, vanilla, or chamomile.
-
Turn down Lights:
since you have already lit the candles, turn off the harsh lights or swap them for softer lamps. Additionally, string lights or fairy lights can also add a touch of magic to your DIY spa space.
-
Put on Calming Music:
there are a lot of spa playlists available online to choose from. Or you can even create your own.
Click here to get some décor inspiration for your home spa.
- Gather Your Spa Essentials:
now that the room is ready, it’s time to gather the spa supplies. Here is a checklist for you:
-
Soft Towel– to wrap yourself after your treatment
-
Mixing Bowls and Spoons– for whipping up your DIY spa concoctions
-
Optional Stuff– you might be needing items like headband, shower cap, bath brush, etc but it all depends on the treatment you choose.
DIY SPA TREATMENTS FOR YOU
Coming to the main part- the DIY remedies.
You can treat yourself at home with these 4 amazing DIY face masks, with common pantry items.
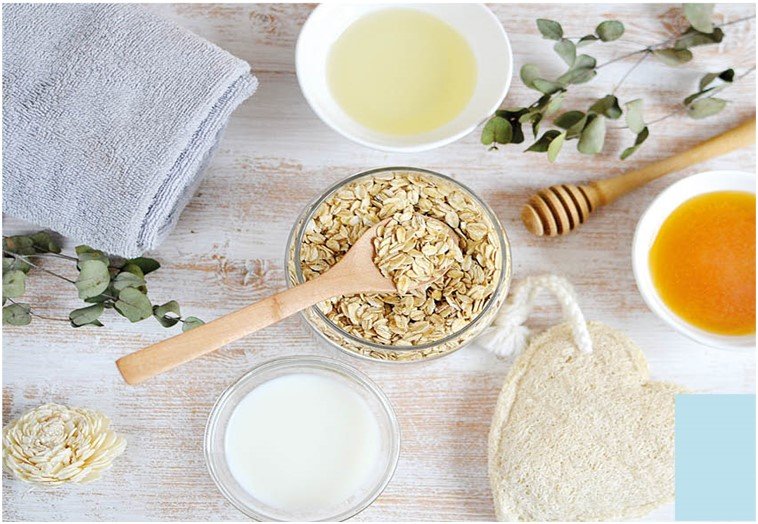
1. HONEY OAT FACE MASK
Ingredients:
-
½ cup ground oats
-
¼ cup Greek yogurt
-
1 tbsp. honey
Directions:
Mix ½ cup of ground oats, ¼ cup of Greek yogurt, and 1 tbsp of honey in a bowl until its consistency becomes smooth. Apply to your face with hands or a brush and leave it on for 10-15 minutes. Rinse off with warm water and pat dry with a towel.
Benefits:
The lactic acid in yogurt naturally exfoliates dull skin cells. Honey has natural antibacterial properties which can aid in acne prevention. While oats also help in exfoliation.
This DIY mask is perfect for soothing your irritated skin and making your skin glow.
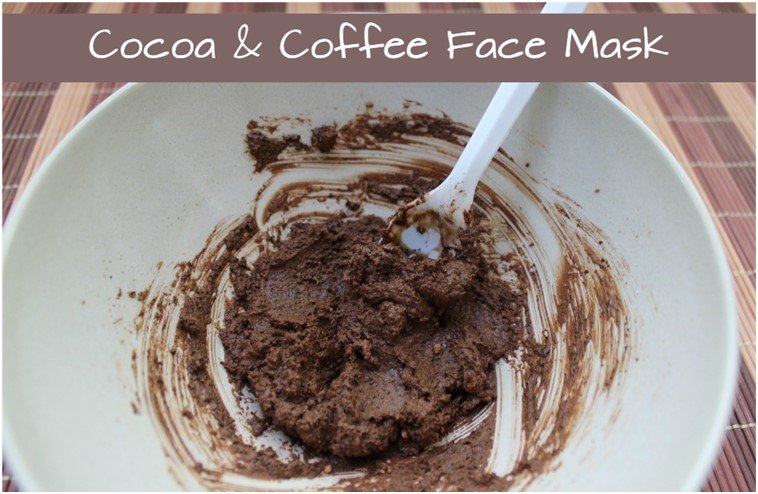
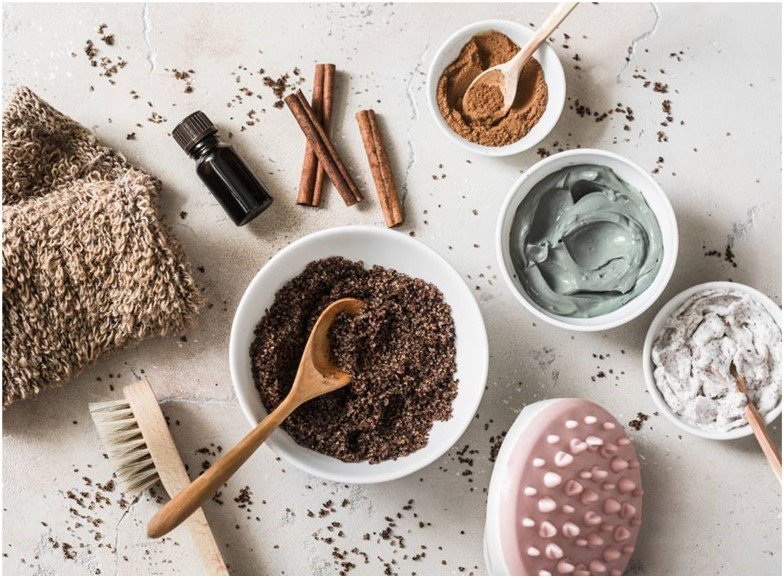
2. COCOA COFFEE FACE MASK
Ingredients:
-
2 tbsp. coffee grounds
-
2 tbsp. cocoa powder
-
3 tbsp. yogurt
-
1 tbsp. honey
Directions:
Mix 2 tbsp. of Coffee grounds, 2 tbsp. of cocoa powder, 3 tbsp. yogurt, and 1 tbsp. of honey in a bowl until its consistency becomes smooth. Massage it into your skin and allow it to dry for 15-20 minutes then rinse off thoroughly.
Benefits:
Helps in tightening pores and removing excess oil in the skin. The coffee grounds help reduce puffiness and swelling, while cocoa, honey, and yogurt will add moisture to your skin.
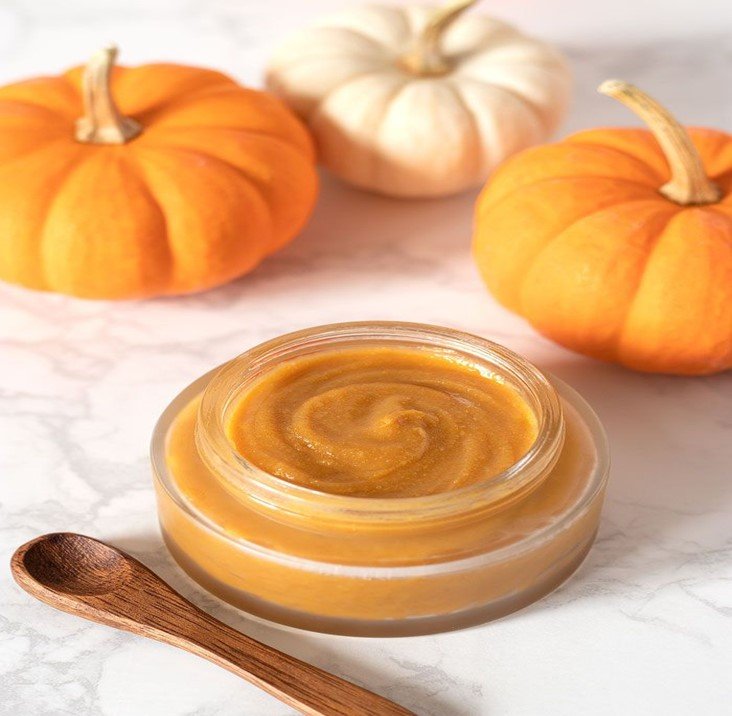
3. PUMPKIN FACE MASK
Ingredients:
-
¼ cup of cooked or canned pumpkin
-
2 tbsp. warm water
-
1 tbsp. vitamin E oil
Directions:
Mix ¼ cup of cooked or canned Pumpkin, 2 tbsp. of water, and 1 tbsp. of vitamin E oil in a bowl until its consistency becomes smooth. Apply it on a clean face, and leave it for 20 minutes. Wash your face and pat dry.
Benefits:
Pumpkin has the highest content of vitamin A which works the best in minimizing acne scars. It also helps in stimulating collagen production. Basically, a pumpkin mask is all your skin needs.
21 Amazing Benefits of Pumpkin

4. MATCHA FACE MASK
Ingredients:
-
1 tbsp. Matcha powder
-
1 tbsp. honey
-
¼ cup yogurt
Directions:
Mix ¼ cup of yogurt, 1 tbsp. of honey, and 1 tbsp. of Matcha powder in a bowl until it becomes smooth and Matcha powder is fully incorporated. Smoothly apply it all over your face, and leave on for 10-15 minutes then wash off with warm water.
Benefits:
Matcha is amazing for your skin as it is high in antioxidants which help to fight against inflammation and redness in the skin. It even combats stress and prevents premature aging of the skin.
Click here to learn more about the Skin Benefits of Matcha.
Find additional DIY Face Masks here.
These are some of the easiest body scrub DIYs for you:
1. COFFEE SCRUBS
Ingredients:
-
½ cup coffee grounds
-
2 tbsp. hot water
-
1 tbsp. coconut oil (warmed)
Directions:
Add ½ cup coffee grounds and 2 tbsp. hot water to a mixing bowl and mix them thoroughly with a spoon. Then add 1 tbsp. coconut oil. If needed, you may add more coffee grounds or oil to achieve the right consistency.
Benefits:
The tiny granules of coffee are gentle on the skin making it the perfect ingredient for your DIYs. It is effective at removing dead cells from the skin’s surface. And the aroma of coffee is a plus point!
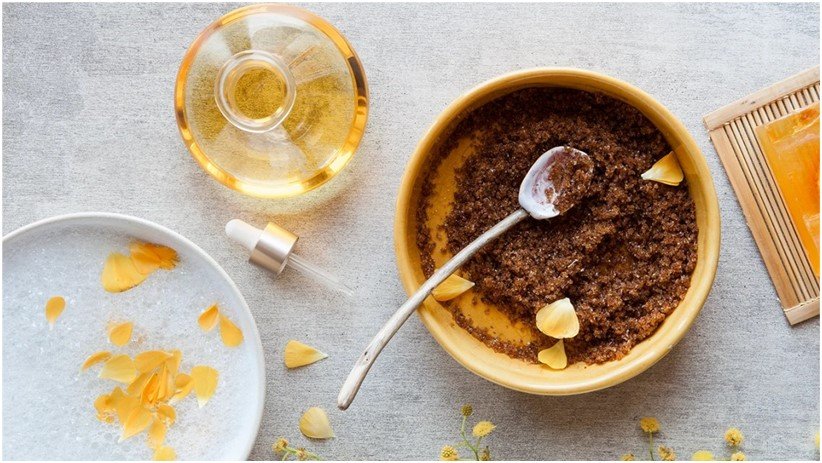
2. BROWN SUGAR SCRUB
Ingredients:
-
½ cup brown sugar
-
½ cup oil (any of your choice such as: coconut, olive, jojoba, almond)
-
Essential oils (optional)
Directions:
Combine ½ cup brown sugar and ½ cup oil in a mixing bowl. Mix them thoroughly until you get the right consistency. If you want, you can add a drop or two of your favorite essential oil and stir it into the mixture. And your scrub is ready!
Benefits:
Brown sugar being inexpensive and accessible also does a great job of exfoliating your skin. It is gentle on your skin and ideal for sensitive skin.
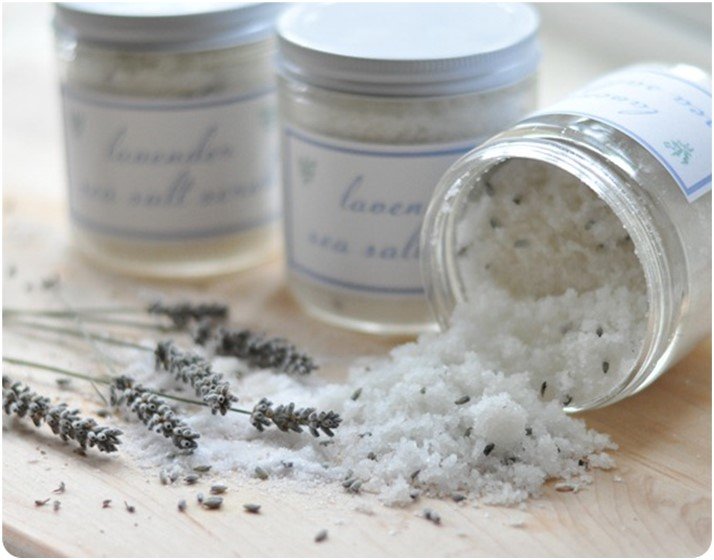
3. SEA SALT SCRUB
Ingredients:
-
½ cup sea salt
-
½ cup oil (any of your choice)
-
Essential oils (optional)
Directions:
Take ½ cup sea salt and ½ cup oil and mix them together. If you want, you can add a few drops of any essential oil that you like. Once it is mixed together, spoon it into a container.
Benefits:
Sea salt contains antibacterial properties that can be helpful for certain skin conditions. And as salt is a preservative, so this scrub will be able to naturally preserve itself.
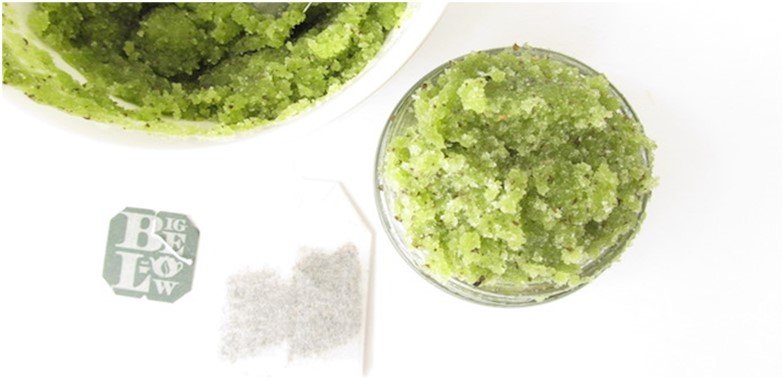
4. GREEN TEA SUGAR SCRUB
Ingredients:
-
2 teabags green tea
-
½ cup hot water
-
1 cup brown sugar
-
¼ cup coconut oil (melted)
Directions:
Add the teabags to hot water and let the tea steep until it cools. While it is cooling, add 1 cup brown sugar and ¼ cup coconut oil to a bowl and mix them. Then add the cooled tea. Keep mixing them until the perfect consistency is reached, then add it to a container.
Benefits:
Green tea is rich in antioxidants and has anti-inflammatory properties which may benefit your skin in numerous ways. Brown sugar as said before is great for exfoliation.
Find more DIY Body Scrubs here.
These are some hair masks you are going to love:

1. EGG LEMON HAIR MASK
Ingredients:
-
1 egg
-
½ lemon
Directions:
Crack an egg and separate the egg white cause you’re only needing that. Squeeze half a lemon into a bowl and mix both the ingredients together until you achieve a smooth consistency. Apply it to damp hair from top to bottom and cover your hair with a shower cap.
Let the mask sit for 30-45 minutes then rinse with shampoo and conditioner.
Benefits:
Eggs being rich in Vitamin A,D, and E help retain the shine in your hair while lemon is best for those with an oily scalp. Lemon juice is also great for fighting Dandruff as it contains anti-fungal properties.
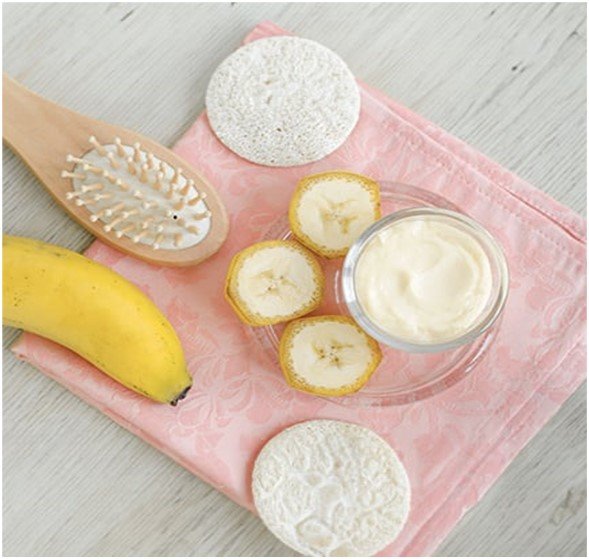
2. BANANA, YOGURT + HONEY MASK
Ingredients:
-
1 sliced banana
-
2 tablespoons of plain yogurt
-
1 tablespoon of honey
Directions:
Mash 1 banana, 2 tbsps. of plain yogurt, and 1 tbsp. of honey, and mix them together.
Apply the mask to damp hair and leave on for 30 minutes then rinse with shampoo and conditioner.
Benefits:
Bananas are the secret to naturally conditioning your hair! Yogurt on the other hand has high levels of lactic acid which treats dull and damaged hair. Altogether this mask is perfect for frizzy hair.
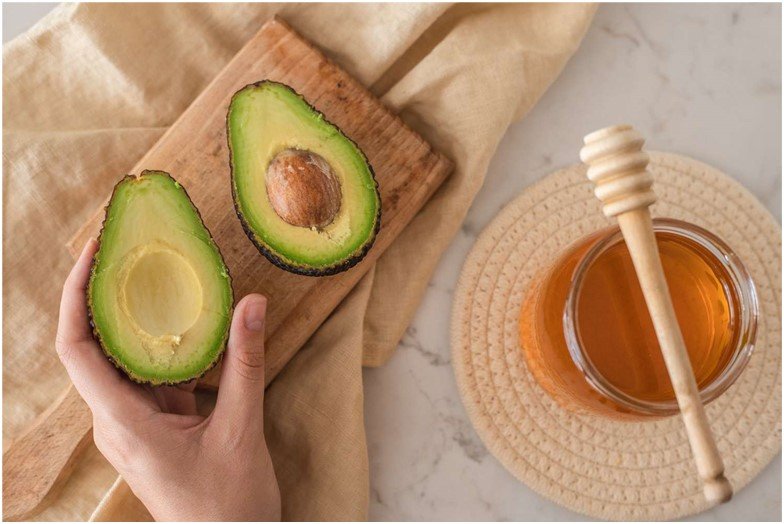
3. COCONUT OIL, AVOCADO + HONEY HAIR MASK
Ingredients:
-
1 avocado
-
2 eggs
-
1 tbsp. of honey
-
1 tbsp. of coconut oil
Directions:
Mash the avocado and add it in a mixing bowl with all other ingredients. Apply the mask to your hair from the ends to the roots and let it sit for 15-20 minutes. Then rinse it off with shampoo.
Benefits:
Avocados add shine, moisture, and provide your hair with essential vitamins and proteins, and even help protect your hair against heat.

4. COCONUT OIL + CINNAMON HAIR MASK
Ingredients:
-
1 tbsp. of coconut oil
-
1 tsp. of cinnamon
Directions:
Mix both these ingredients in a bowl. Part your hair down the center and apply the mask on your scalp. Use your fingertips to massage the product into your scalp and then cover your hair with a shower cap or a towel. Let it sit for around 45 minutes.
Then rinse your hair with your regular shampoo and conditioner.
Benefits:
Coconut oil is present in majority of the DIYs be it for hair, skin or body, due to its hydrating and moisturizing properties. While cinnamon contains antimicrobial properties that help in hair growth, dandruff, hair loss, and even strengthens your hair follicles.
Click for some more DIY Hair Masks.
These were some of the amazing and most loved DIYs for you. Moving on, at-home-spa has amazing benefits for you, such as:
-
It is light on your pocket, and all the homemade masks and scrubs are as effective as the high-end store-bought products.
-
You get to relax in the privacy of your home.
-
You also have the freedom to do anything you want to according to your choice.
-
Lastly, the peaceful atmosphere helps you let go of your worries and melts all your tensions away.
ADDITIONAL TIPS TO CONSIDER
Those of you with sensitive skin, always keep in mind to patch test any new ingredient on your neck or on your arm before applying it to your face.
Wait at least 24 hours to check for any irritation.
Moreover, keep the candles away from any flammable object such as your towel.
Also make sure to place bath mats and towels to prevent slips and falls.
Other than this, remember to stay hydrated throughout your spa session, especially after treatments that can cause sweating such as hot baths.
Lastly, be gentle and do not overdo anything! Listen to your body and understand what you need.
So, grab your favorite fluffy towels, put on some relaxing music, and get ready to transform your bathroom into your own personal spa haven!
To read about how to achieve a healthy sun tan Click here.
To read about acne prevention and treatment Click here.